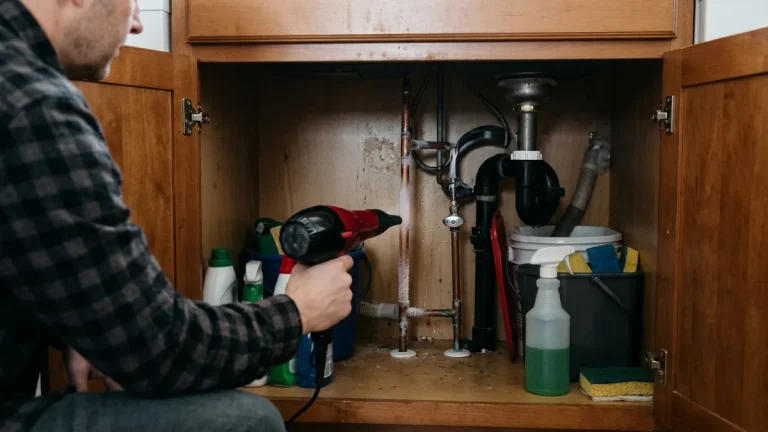
Learning how to fix a leaky faucet takes about an hour, and the part that stops the drip usually costs less than a takeout lunch. The hard part is not the wrench work. It is knowing which of the four faucet designs is sitting on your sink, because each one fails in its own way and takes a different replacement part. Figure that out first, buy the right washer, cartridge or seal kit, and the rest is unscrewing and screwing back together in the right order.
Shut off the water under the sink and open the faucet to drain it. Identify the type: compression (two handles that tighten down), cartridge, ball or ceramic disc. Take a photo, remove the handle, and replace the worn part: washer and seat, cartridge, seats and springs, or disc seals. Grease the O-rings with plumber’s grease, reassemble, and turn the water back on slowly.
What a dripping faucet really costs↑ Contents
A slow drip feels harmless because you never see a puddle. The numbers say otherwise. According to the EPA WaterSense Fix a Leak Week page, a faucet dripping at one drip per second can waste more than 3,000 gallons a year. The same page puts the average household’s leaks at more than 9,300 gallons a year, and nearly 1 trillion gallons nationwide.
To check your own drip rate, the WaterSense family fact sheet suggests timing it with a watch that has a second hand. If the drip is hot water, you are also paying to heat every one of those gallons.
Identify your faucet type first↑ Contents
Almost every household faucet in the US falls into one of four designs. You can usually tell which one you have from the handles alone, and confirm it once the handle comes off.
- Compression faucetTwo separate handles, one hot and one cold. You turn each handle several times and feel it tighten down at the end, often harder and harder as it ages. Inside, a rubber washer presses against a brass seat. Common in older homes and on utility sinks. A dripping faucet of this type almost always means a worn washer.
- Cartridge faucetEither one handle that lifts and swings, or two handles that turn a quarter or half turn with smooth resistance. Under the handle you find a plastic or brass cylinder held by a retaining clip or nut. Moen, Pfister and many store brands use cartridges.
- Ball faucetA single handle on a rounded cap, moving freely in every direction. Inside is a hollow ball (plastic or brass) with holes in it, riding on two rubber seats pushed up by small springs. This is the classic older Delta kitchen faucet.
- Ceramic disc faucetA single lever over a wide, flat cylinder. Two polished ceramic discs slide over each other to control flow. When one leaks, the culprit is usually the seals under the cylinder.
Not sure? The brand logo on the handle or base helps. Manufacturers publish identification guides; the Moen kitchen cartridge guide, for example, sorts its cartridges by handle movement and by how the cartridge is held in (a U-shaped clip versus a brass retainer nut), and notes that you may need to pull the handle to be sure.
Tools and parts list↑ Contents
You do not need a plumber’s toolbox. This covers all four faucet types:
- Adjustable wrench (6 to 8 inch) and a pair of slip-joint pliers.
- Screwdrivers: Phillips and flat-head, plus a small flat one for prying off decorative caps.
- Allen keys (hex wrenches). Many single-handle levers hide a set screw.
- Masking tape to wrap wrench jaws and protect chrome.
- White vinegar and an old toothbrush for mineral buildup.
- Silicone plumber’s grease (heat-proof and safe for faucets, not petroleum jelly).
- Replacement parts for your type: washers and brass screws, seat washers, a cartridge, a seats-and-springs kit, or a disc cylinder seal kit. A seat wrench if you plan to replace compression seats.
Before you take anything apart↑ Contents
Ten minutes of prep prevents a flooded cabinet, a lost spring or a second trip to the store.
-
Shut off the water
Turn both shutoff valves under the sink clockwise until they stop. EPA’s own repair tip is short and worth repeating: turn off the water line before you start. Then open the faucet fully, hot and cold, to drain the pressure. If no water flows, the valves are holding. If water keeps trickling, the stop valve is worn, and you will need to shut off the main water valve for the house instead.
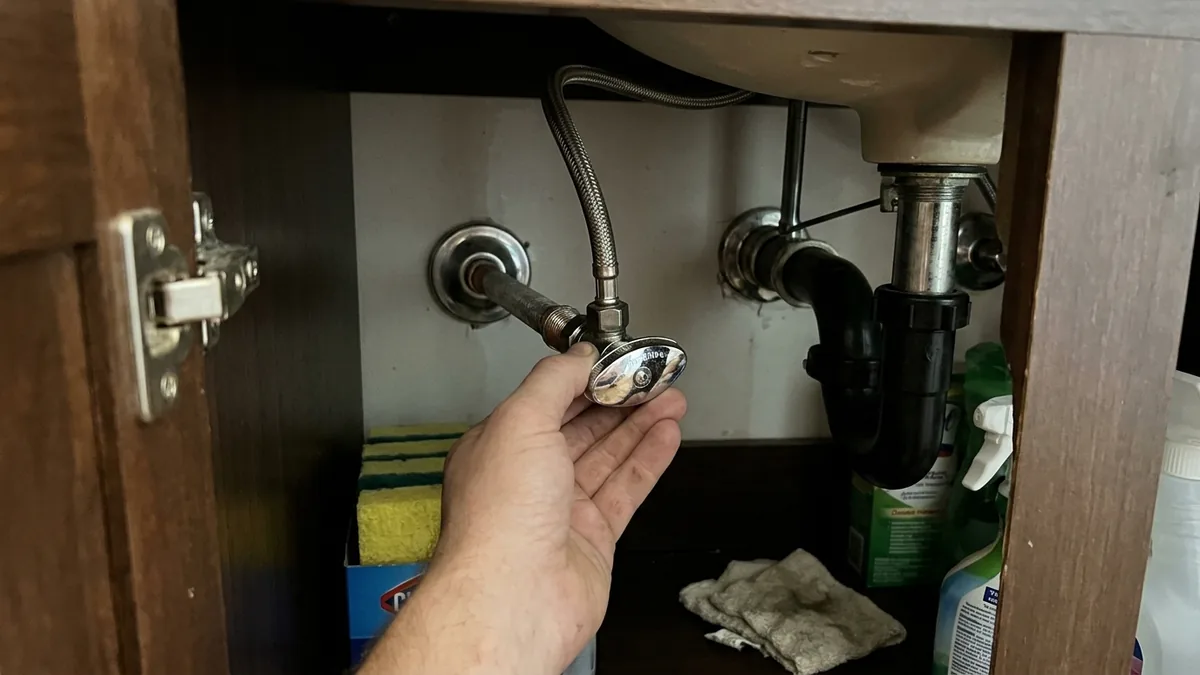
Close both shutoff valves under the sink before you remove any part of the faucet. -
Plug the drain and pad the sink
Close the drain stopper and lay a towel in the basin. Faucet screws, set screws and tiny springs are exactly the size of a drain opening.
-
Take a photo before every step
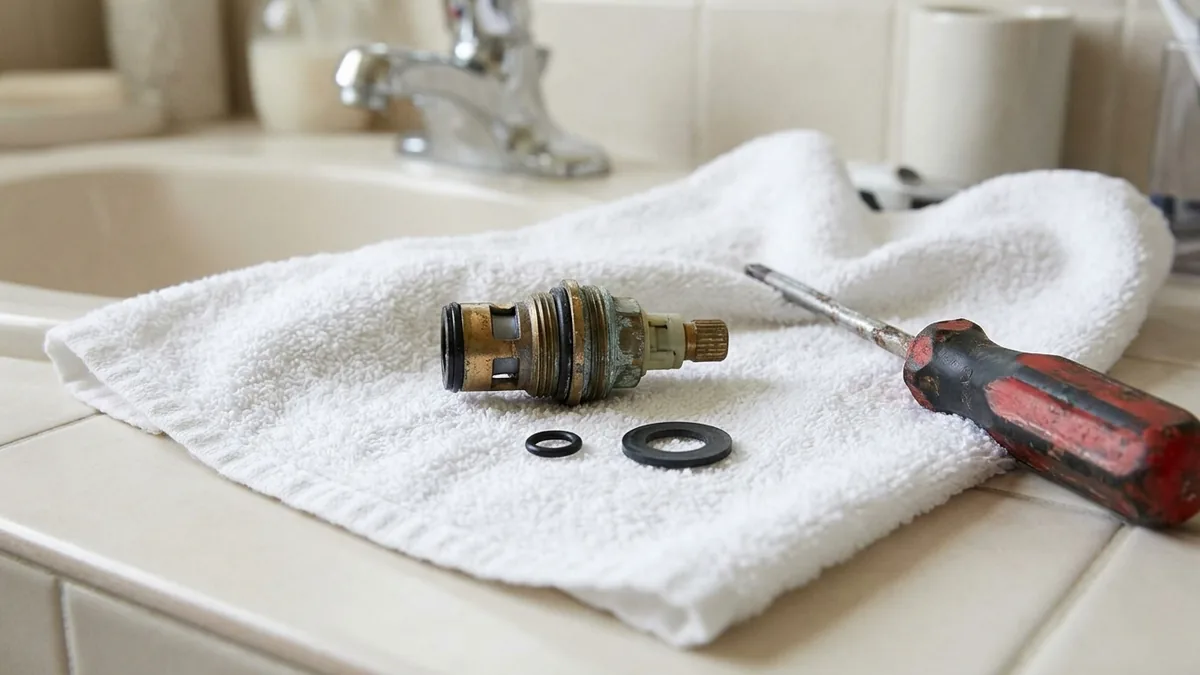
Before you remove a part, take a picture with your phone. Then line the parts up on the towel in the order they came off. Ball faucets in particular have a cam, a ball, two seats and two springs that must go back in a specific orientation, and the photo answers that question in two seconds.
-
Bring the old part to the store
Cartridges that look identical can differ by a few millimeters or by the number of splines on the stem. Put the old washer, cartridge or seat in a zip bag and match it at the counter. Moen even notes that some of its cartridge retainer nuts are not interchangeable between kits, which is exactly the kind of detail a side-by-side match catches.
Hot water caution: if the leak is on the hot side, let the water cool before you open the valve body. And if your shutoff valves are corroded and won’t budge, don’t force them with a long wrench: a snapped valve stem under a sink means an emergency call.
How to fix a leaky faucet, type by type↑ Contents
All four repairs start the same way: pry off the decorative cap on the handle, remove the screw beneath it (or the Allen set screw under a lever), and lift the handle off. A stuck handle comes off with gentle rocking, not prying against the chrome.
Compression faucet: replace the washer and check the seat
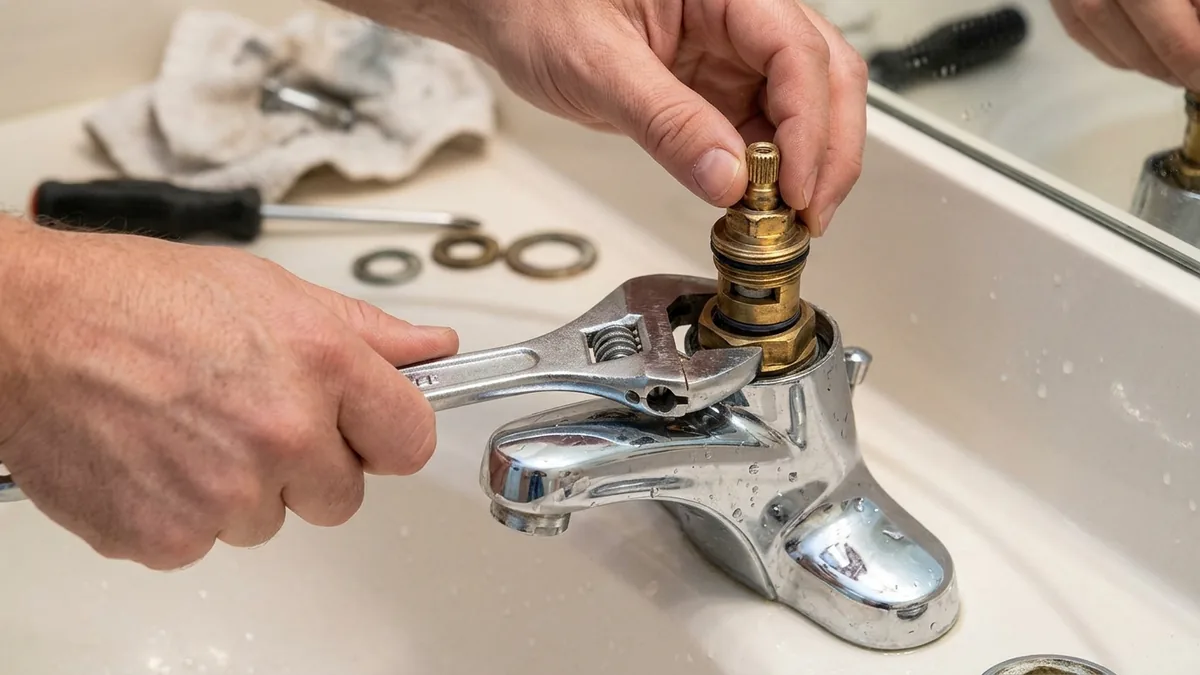
Figure out which side is dripping: shut off only the hot valve and see if the drip stops. Remove that handle, then unscrew the packing nut and the stem with your wrench (turn counterclockwise). At the bottom of the stem is a rubber washer held by a small brass screw. If it is flattened, cracked or hard, that is your leak.
Replace the washer and the brass screw with exact matches. Then shine a flashlight into the faucet body and look at the seat the washer presses against. A rough or pitted seat will chew up a new washer in weeks. Remove it with a seat wrench and replace it, or dress it smooth with an inexpensive seat grinding tool. Replace the O-ring on the stem too, coat it with plumber’s grease, and reassemble. Don’t overtighten the handle when you close it: cranking it down is what flattened the old washer.
Cartridge faucet: swap the cartridge
Under the handle you will find a retaining clip (often a U-shaped clip on older Moen faucets) or a threaded retainer nut. Note which way the cartridge stem faces in your photo, since it controls which side is hot. Pull the clip with needle-nose pliers, then pull the cartridge straight up. A stubborn one may need the brand’s cartridge puller.
A faucet cartridge replacement is almost always the better choice over rebuilding the old one. Push the new cartridge in with the stem aligned exactly as before, reinstall the clip, and test hot and cold before putting the handle back. If hot and cold come out reversed, the cartridge is rotated 180 degrees: pull it, turn it, and reseat it.
Ball faucet: replace seats, springs and O-rings
Remove the handle, then unscrew the cap with slip-joint pliers (tape the jaws). Lift out the cam and its packing, then the ball. Underneath, two rubber seats sit on two small springs in holes in the faucet body. Pick them out with a small screwdriver or the tip of a pencil.
A repair kit includes new seats and springs (Delta sells this as a seats-and-springs kit). Drop each spring in, then press a seat over it, cupped side up. If the leak was at the base of the spout, pull the spout up and off and replace the two large O-rings on the body as well, coating them with plumber’s grease. Reinstall the ball so its slot lines up with the pin in the housing, then the cam, then the cap. Tighten the adjusting ring just enough to stop leaks around the stem without making the handle stiff.
Ceramic disc faucet: clean or reseal the cylinder
Remove the lever and the decorative cap (escutcheon), then the screws or nut holding the disc cylinder. Lift the cylinder out and look at the rubber seals on its underside. These seals cause most leaks on this design. Soak the cylinder openings in white vinegar for a few hours if you see white scale, scrub gently, and rinse.
Replace the seals with an exact match, or replace the whole cylinder if the discs are chipped. When you reassemble, turn the water back on very slowly with the lever in the open position. A sudden blast of pressure can crack a ceramic disc, and that is the most common way people break a brand-new one.
Finish every repair the same way
- Coat every rubber O-ring with a thin film of plumber’s grease. It helps parts slide in without tearing and keeps handles turning smoothly for years.
- Open the shutoff valves slowly, run both hot and cold for 30 seconds, and watch for drips under the sink as well as at the spout.
- Check again the next morning. A drip that returns within days means the wrong part or a damaged seat.
Leak at the spout vs leak at the base↑ Contents
Where the water shows up tells you which part failed. Before buying anything, dry the whole faucet with a towel and watch for a few minutes.
- Drip from the spout with the faucet offInternal shutoff failure: a worn washer or seat (compression), a worn cartridge, worn seats and springs (ball), or bad seals under the disc cylinder (ceramic disc).
- Water around the base of the spoutWorn O-rings on the faucet body. Very common on ball and cartridge kitchen faucets with swivel spouts. New O-rings and grease fix it.
- Water seeping from under the handlePacking nut loose or packing worn on a compression stem, or a failing O-ring on the cartridge or the ball faucet’s adjusting ring.
- Water in the cabinet under the sinkNot a faucet repair at all. Check the supply line nuts, the shutoff valve and the sprayer hose. A quarter turn on a supply nut often stops it.
When to replace the whole faucet↑ Contents
An inexpensive part is the right call for most drips. Replacing the entire fixture makes more sense when:
- The faucet body itself is cracked or corroded, or the threads are stripped.
- You cannot find parts because the brand is gone or the model is unknown, even after matching the old part in the store.
- The finish is flaking and the base is crusted with scale that vinegar won’t move.
- You have repaired the same faucet twice in a year.
If you do replace it, look for the WaterSense label. The EPA fact sheet points to it as a sign that a faucet or aerator saves water without a noticeable loss in performance. Check the warranty first, too: a free replacement part beats a new fixture.
Call a licensed plumber if the shutoff valves don’t hold, if the faucet body cracks, if pipes under the sink are corroded or soft, or if you find water damage in the cabinet floor. The same goes for any faucet that leaks inside a wall, such as a tub or shower valve with no access panel.
Leaky faucet: FAQ↑ Contents
Why is my faucet still dripping after I replaced the washer?
The valve seat is probably pitted. A new washer cannot seal against a rough seat, so the drip comes back within days. Replace the seat with a seat wrench, or dress it smooth with a seat grinding tool. Also make sure the new washer is the exact size and shape of the old one.
How do I know if I need a new faucet cartridge?
A dripping spout on a single-handle faucet that isn’t a ball design, a handle that has become stiff or gritty, or hot and cold that no longer mix properly all point to a worn cartridge. Cracked plastic, worn O-rings or scale on the old one confirm it.
Can I fix a leaky faucet without turning off the water?
No. Opening the valve body with the supply on sprays water at full pressure into the cabinet and the room. Close the shutoff valves under the sink, or the main valve if those don’t hold. It takes a minute and saves a flood.
How much does it cost to fix a dripping faucet?
Doing it yourself, you pay only for the part: washers and O-rings cost a few dollars, and kits or cartridges cost more depending on the brand. A plumber adds a service call on top of that, so a DIY repair saves most of the cost.
Is a dripping faucet an emergency?
Not usually, but don’t leave it for months: a slow drip often speeds up as the washer or seal wears. Water leaking under the sink or into a wall is more urgent, because it damages cabinets and floors.
What is plumber’s grease and do I really need it?
It is a heat-proof silicone grease made for faucet parts. A thin coat on O-rings and cartridges keeps rubber from tearing during installation and from sticking later. Skip petroleum jelly, which can swell some rubber seals.
Knowing how to fix a leaky faucet comes down to three things: identify the faucet type, replace the one part that actually wears out, and reassemble with plumber’s grease and a gentle hand. Shut the water off, photograph each step, and bring the old part to the store. Most drips stop for good in under an hour, and you stop paying for water that goes straight down the drain.
Sources: EPA WaterSense, Fix a Leak Week, EPA WaterSense, Fix a Leak family fact sheet (PDF), Moen, Faucet Cartridges: Kitchen.